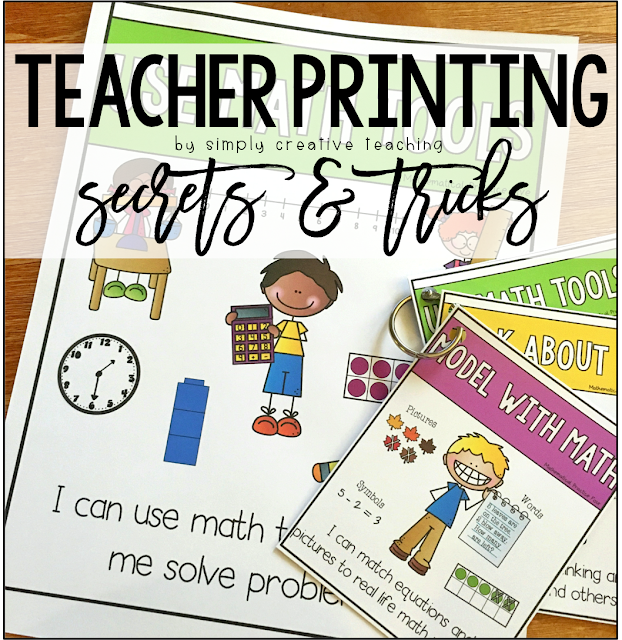
Printing Posters & Mini-Posters At Home
Hey, hey! Today I wanted to share with you all a few at home printing tips for you to make your posters BIG and mini!
With just a few clicks on Adobe Reader before you print, you can enlarge or make tiny anything you want!
Now, obviously it would be easiest to just send my posters to Staples and have them print them nice and big for me, but that's not really in the budget. Sorry, I'm not spending $10 for that.
So, here's how to do it at home! Open your file in Adobe Reader. In the printer options that come up, you'll want to select POSTER and change the Tile Scale. I've found that 180% fits my posters on four pages. You can play with the percent to make it bigger or smaller. The dotted lines on the image below show you that this poster will print on four pages.
Once you adjust the settings and print it, your poster should come out looking similar to this.
Now, while I love having the ability to print posters nice and big at home, I also LOVE printing posters mini-sized! I usually print posters mini when I want students to have them individually or at a small group table or center.
This way is perfect for saving paper, too! Open your file in Adobe Reader. In the printer options that come up, you'll want to select MULTIPLE and change the pages per sheet. When I'm making them to put on binder rings, I like to print 4 per page. You could always switch it to 2 per page if you want them just a tad bigger.
Hopefully you found some new, cost effective printing tips that you can use with your posters! The posters seen in this blog post are my Standards for Mathematical Practice Posters and my Phonics Posters.
For more matching posters, view them all HERE.
Happy Printing!

With just a few clicks on Adobe Reader before you print, you can enlarge or make tiny anything you want!
Now, obviously it would be easiest to just send my posters to Staples and have them print them nice and big for me, but that's not really in the budget. Sorry, I'm not spending $10 for that.
So, here's how to do it at home! Open your file in Adobe Reader. In the printer options that come up, you'll want to select POSTER and change the Tile Scale. I've found that 180% fits my posters on four pages. You can play with the percent to make it bigger or smaller. The dotted lines on the image below show you that this poster will print on four pages.
Once you adjust the settings and print it, your poster should come out looking similar to this.
I don't like to cut all of the sides. I leave a few tabs of white so I can overlap the pages. I put double-sided tape or glue along the tab to attach the pages together.
Finished poster!Now, while I love having the ability to print posters nice and big at home, I also LOVE printing posters mini-sized! I usually print posters mini when I want students to have them individually or at a small group table or center.
This way is perfect for saving paper, too! Open your file in Adobe Reader. In the printer options that come up, you'll want to select MULTIPLE and change the pages per sheet. When I'm making them to put on binder rings, I like to print 4 per page. You could always switch it to 2 per page if you want them just a tad bigger.
 |
| Four posters on ONE page! |
Hole punch the corner and add a binder ring to keep all of the posters together. Aren't they just the cutest?!?!
Here's a poster printed like normal on an 8.5x11 sheet of paper, and the mini-posters right next to them with a binder ring.
Here I've printed my phonics posters mini for my students. These are fantastic to keep at our word work center and in guided reading groups.Hopefully you found some new, cost effective printing tips that you can use with your posters! The posters seen in this blog post are my Standards for Mathematical Practice Posters and my Phonics Posters.
For more matching posters, view them all HERE.
Happy Printing!


